

Getting started
Create a New Account
In this guide, you’ll learn how to set up your Scout account and prepare your first project.
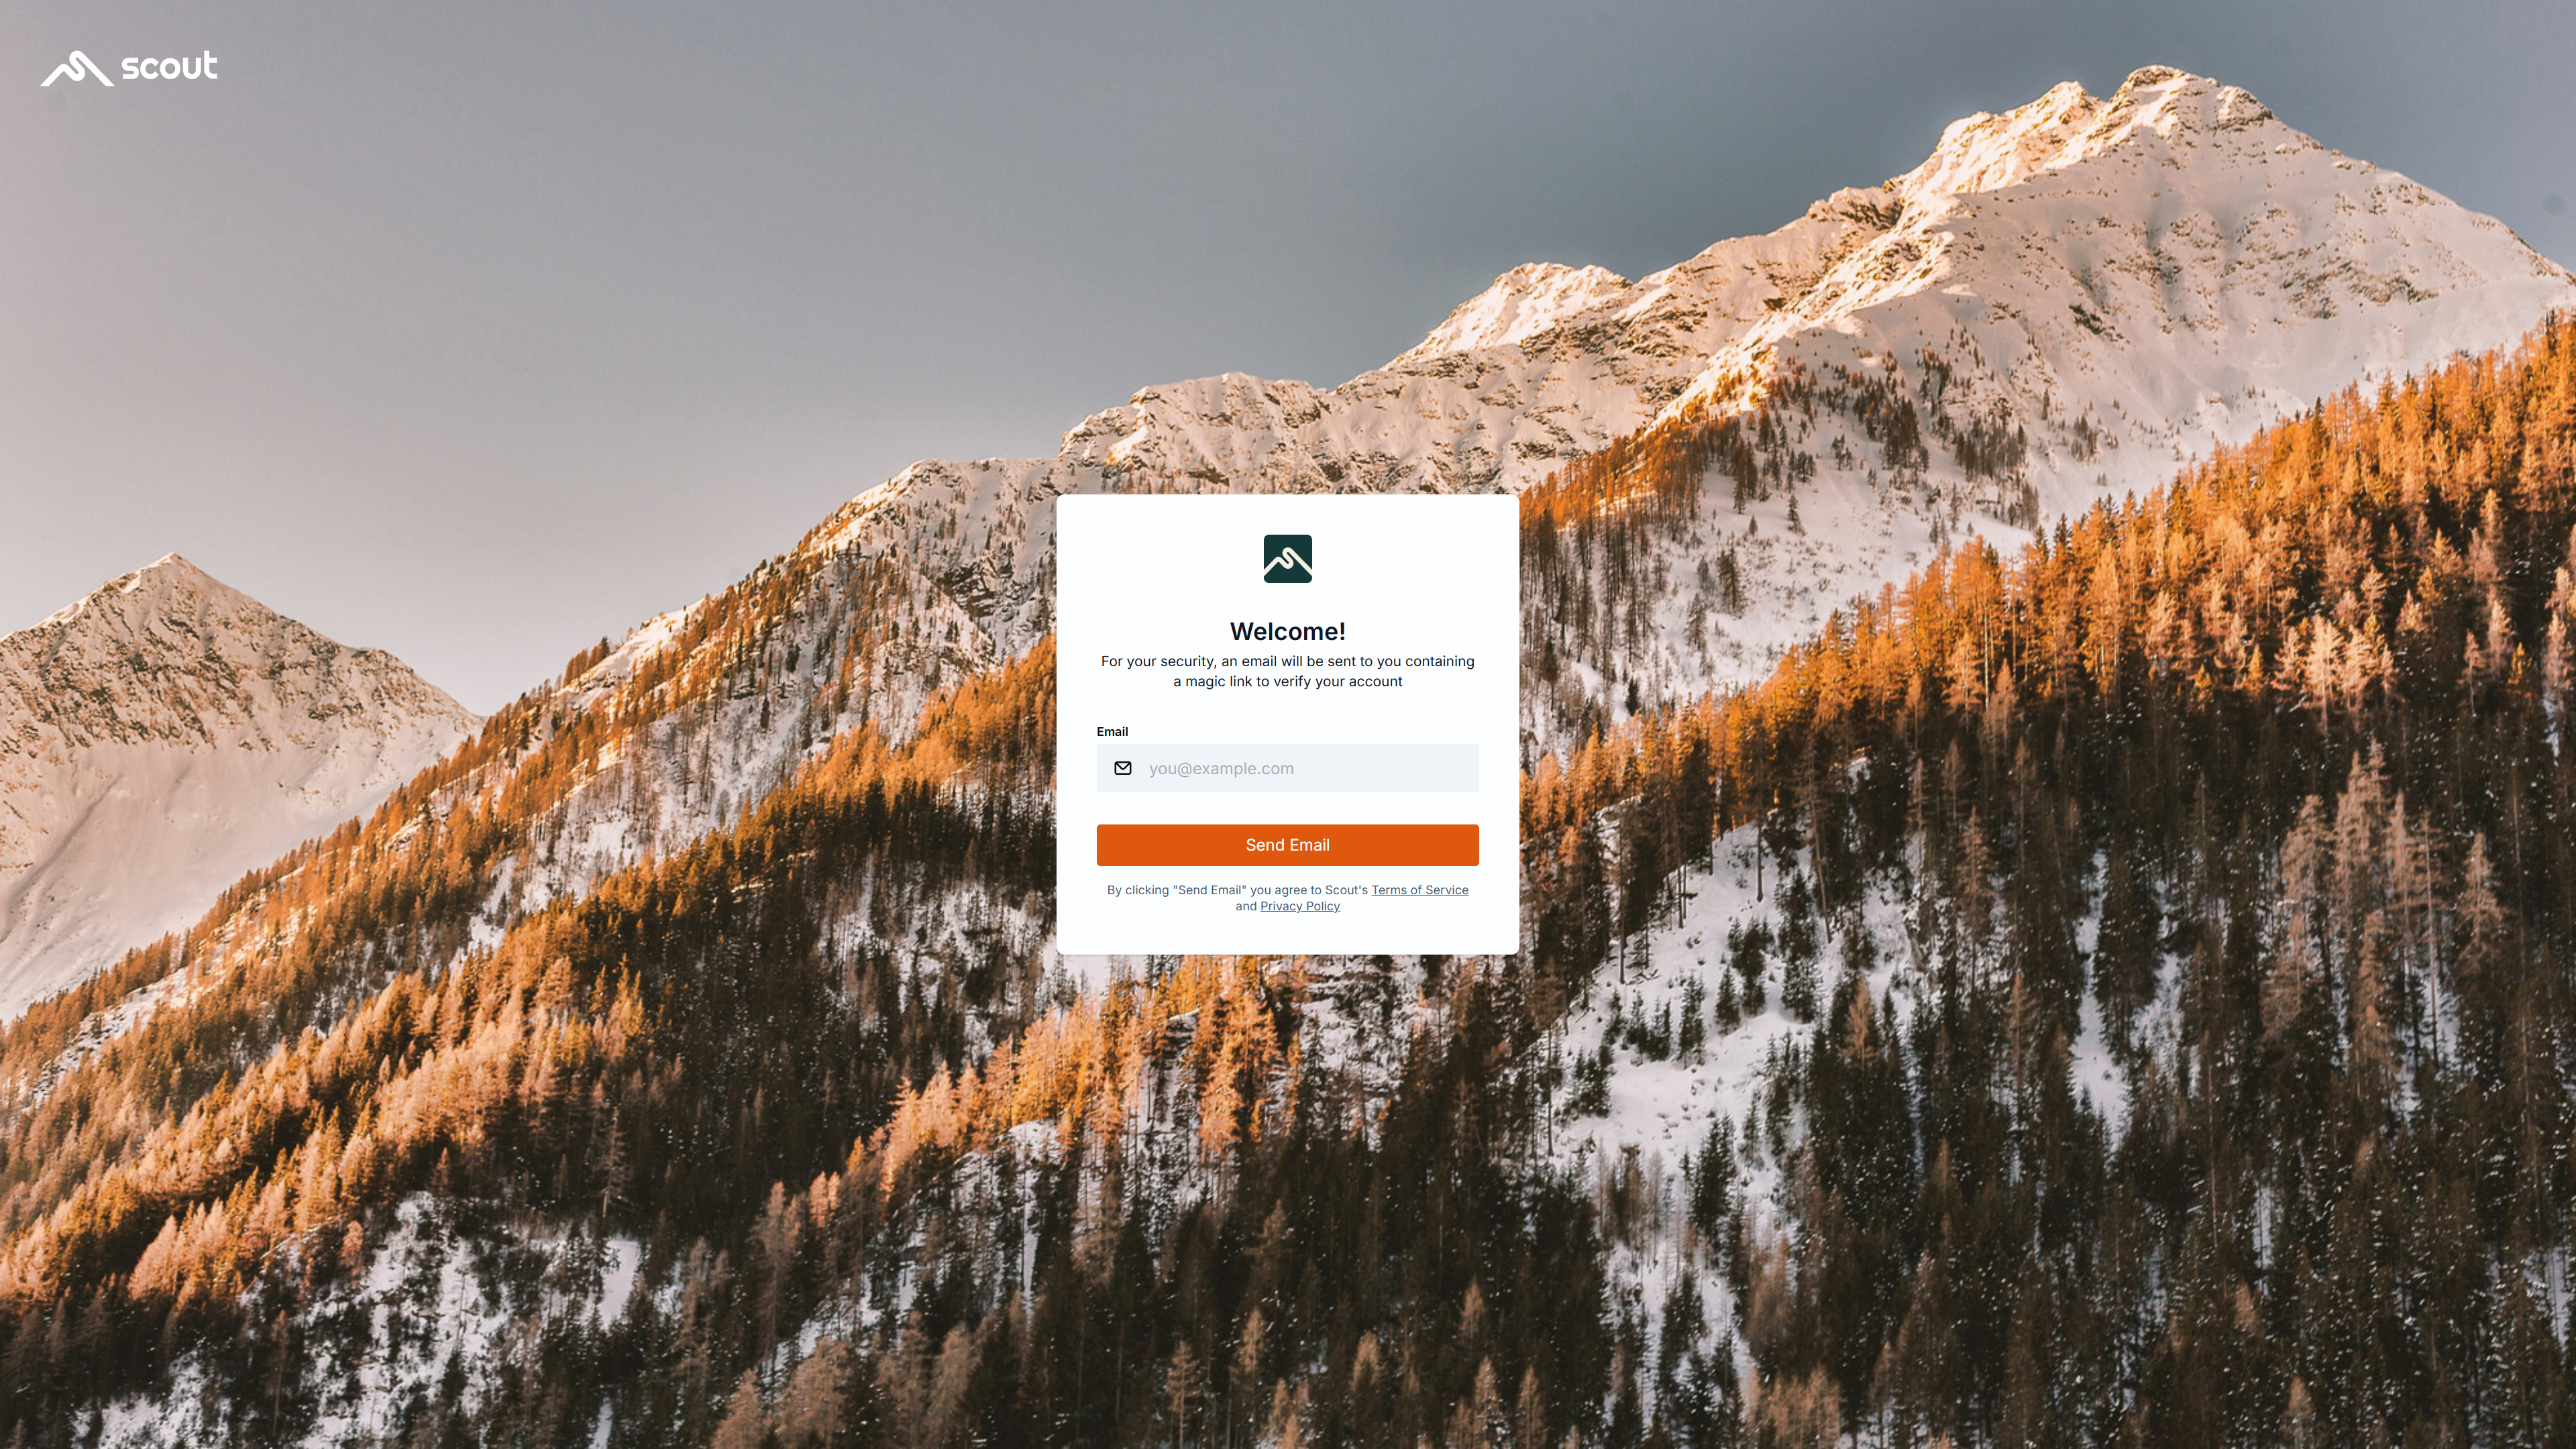
Step 1: Enter your email
- Use a valid email (we recommend your company email).
- No need for a password!
- Scout is password-less.
- You’ll log in each time with a new code.
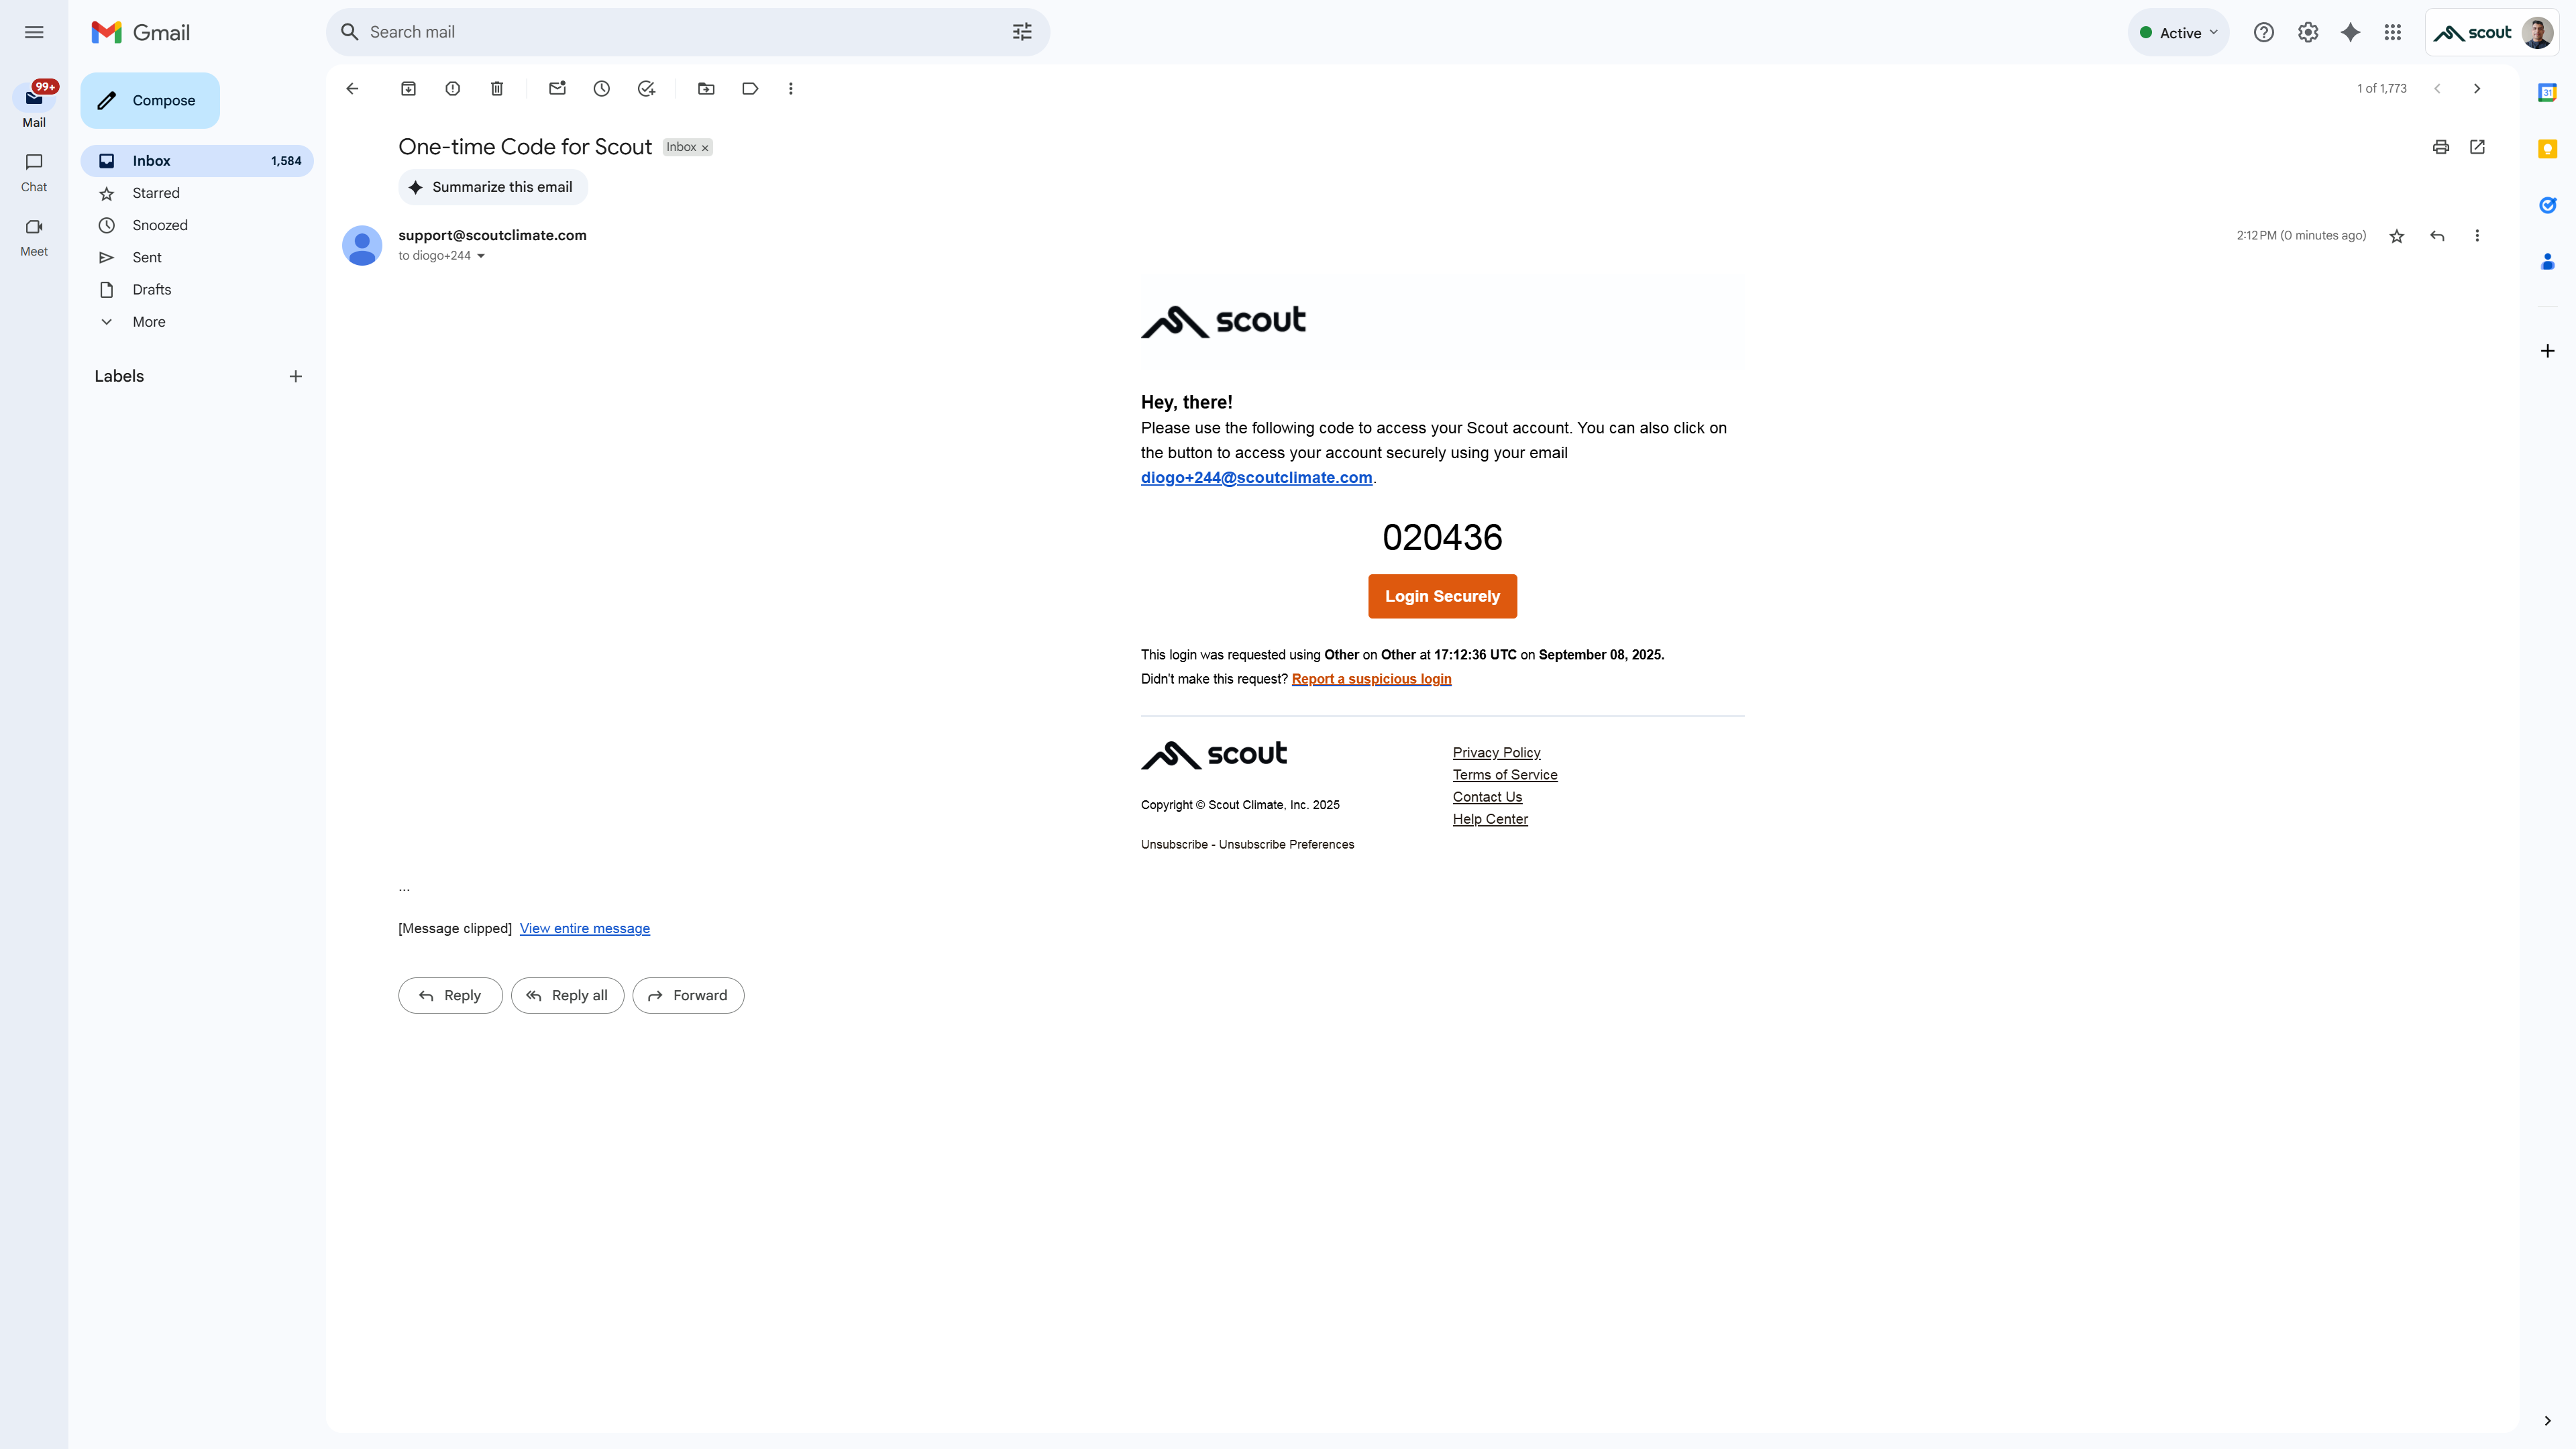
Step 2: Verify your email
- Check your inbox for an email titled “One time code for Scout”.
- Copy and paste the access code or click the Login Securely button in the email.
- Note: each login code is unique and expires after use.

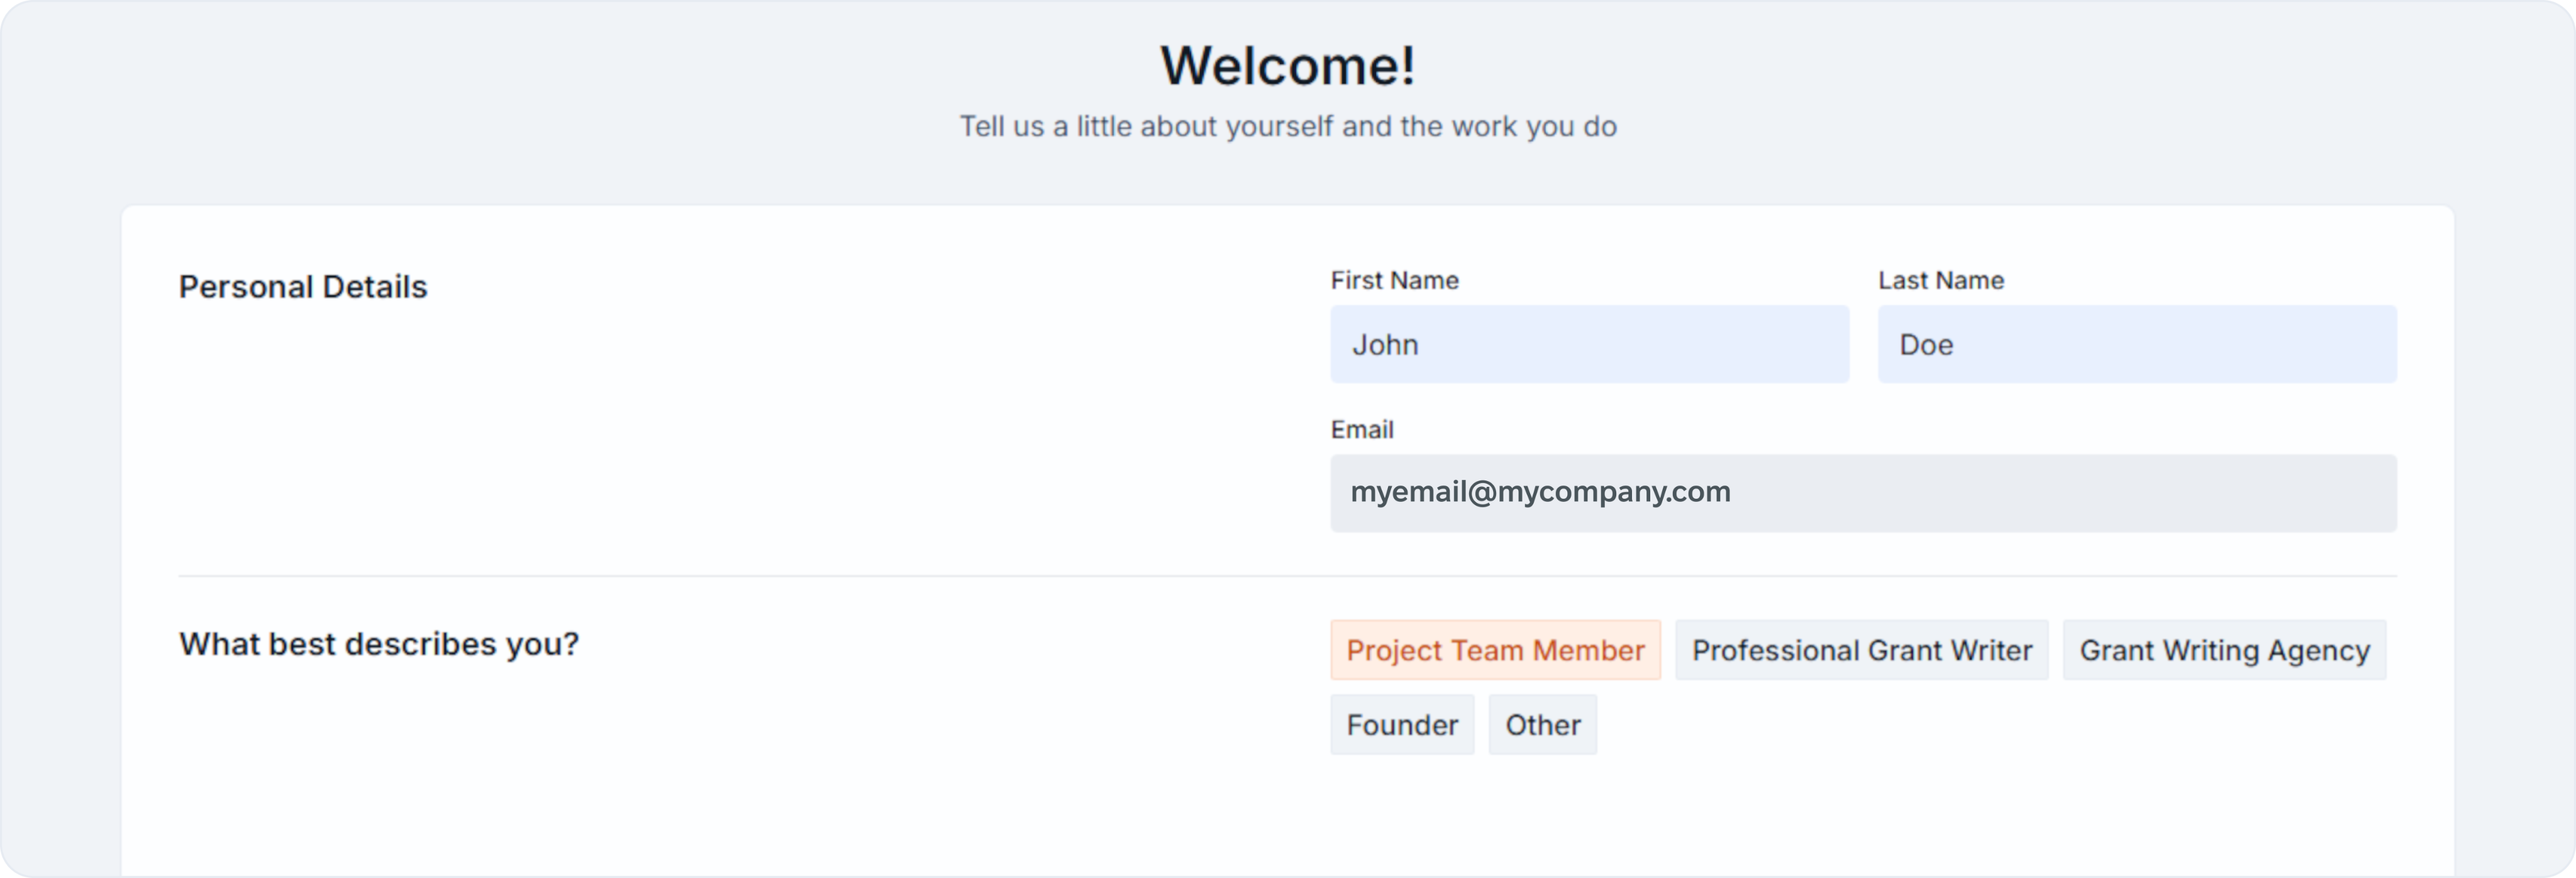
Step 3: Add your personal details
- Enter your First and Last Name.
- Select the option that best describes your role.
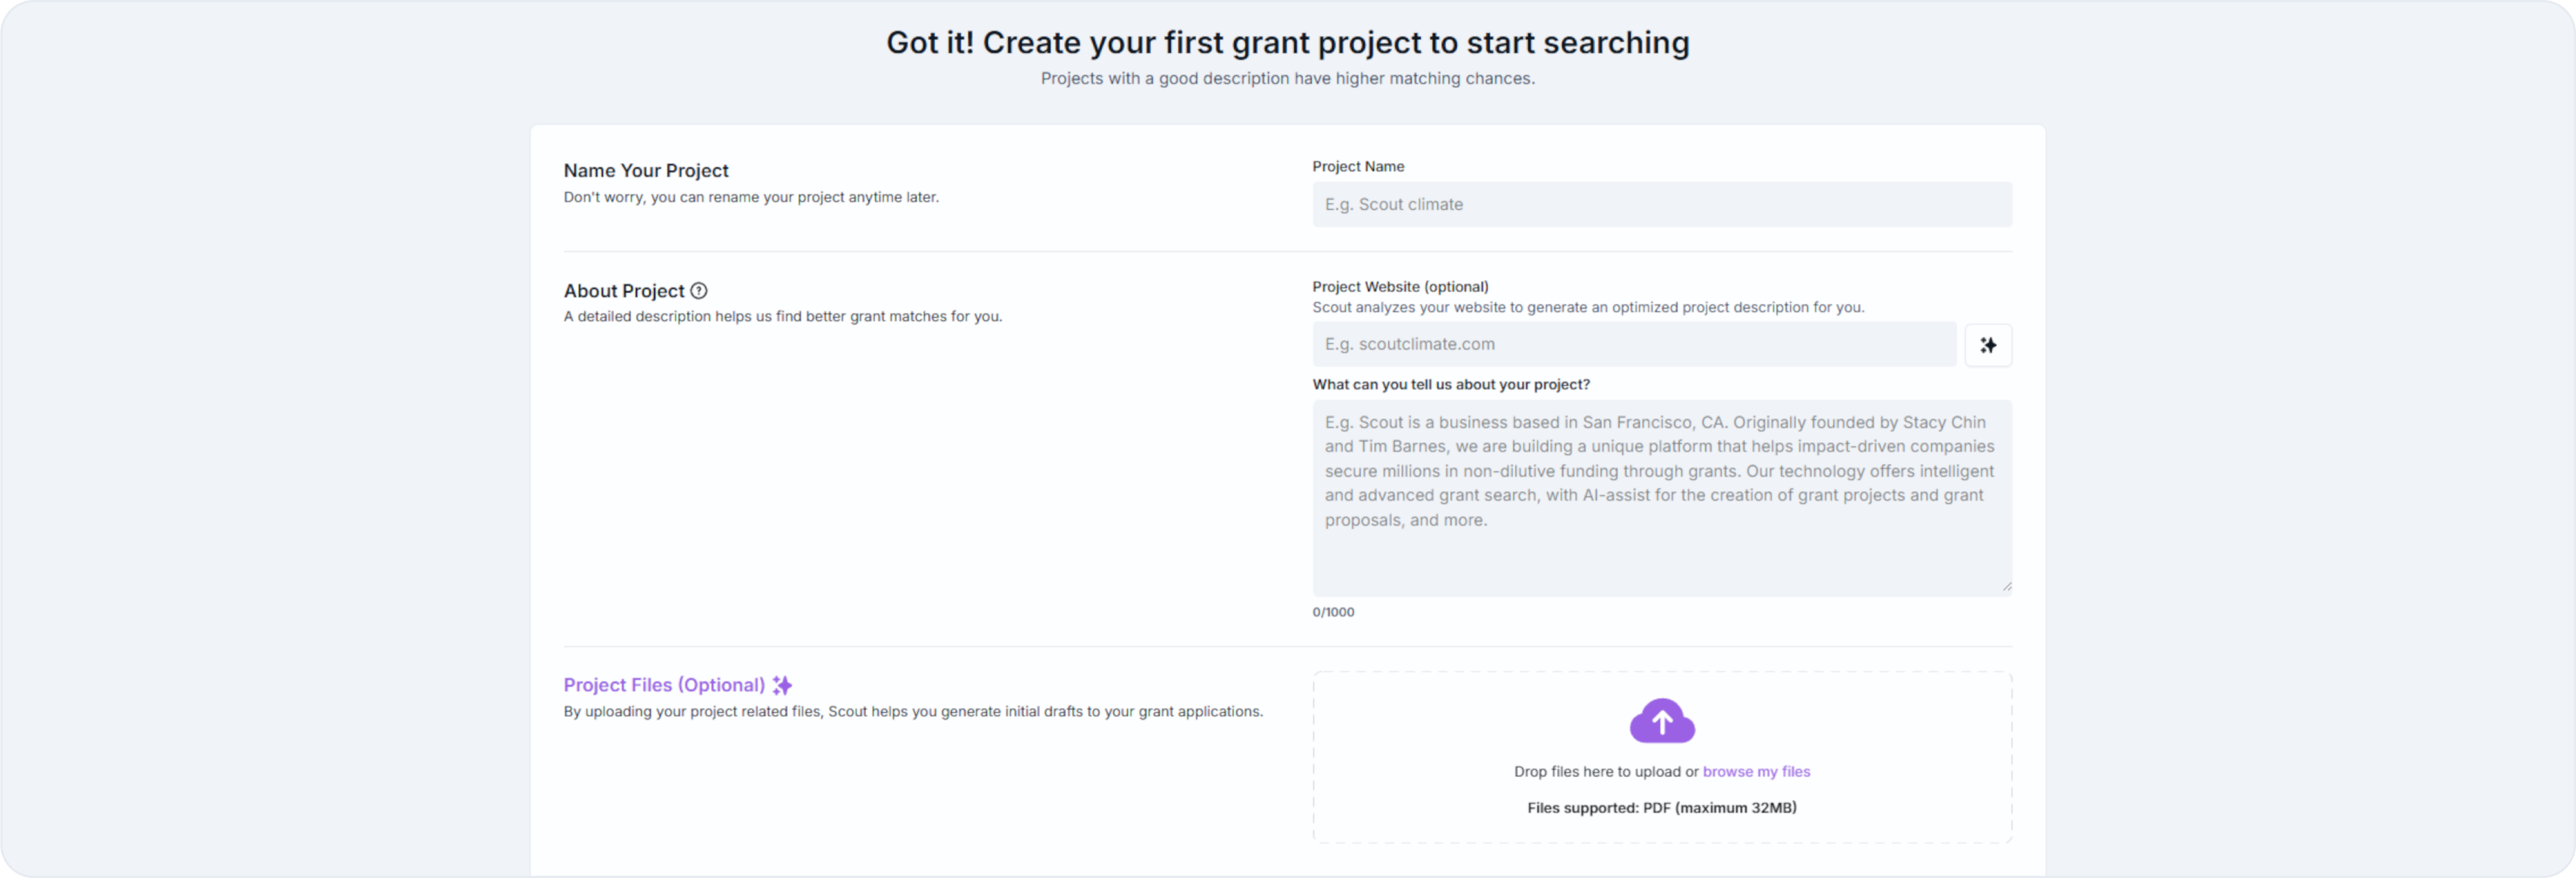
Step 4: Create your first funding project
- Give your funding project a name.
- In About Project, add a description for your innovation:
- In “Project Website”
- If you prefer to write about your project from scratch, in “What can you tell us about your project?”, include company name, location, team, and what makes your innovation unique.

Project Description Tips
- Keep language simple and broad for better matches.
- You can always edit your project later.
- Avoid overly technical jargon—Scout matches your project against grants using broad keywords.
Example: “We are a San Francisco-based startup developing a solar-powered water purification system to serve rural communities.”
Step 5 (Optional): Upload files
- Add supporting files (company docs, bios, budgets, technical summaries).
- These improve AI accuracy when drafting proposals.
Project Files
You can upload Project Files when in “My Project”, on the Files tab, or when writing a proposal and customizing your draft. Upload only relevant, accurate files, because Scout uses these files to generate up to 90% of your first draft.
We recommend uploading the following:
- Team bios and CVs
- Technical documentation
- Budget plans
- Company overview
Back to Getting Started