

funding project
Edit Project
In this guide, you’ll learn how to set up your Scout account and prepare your first project.
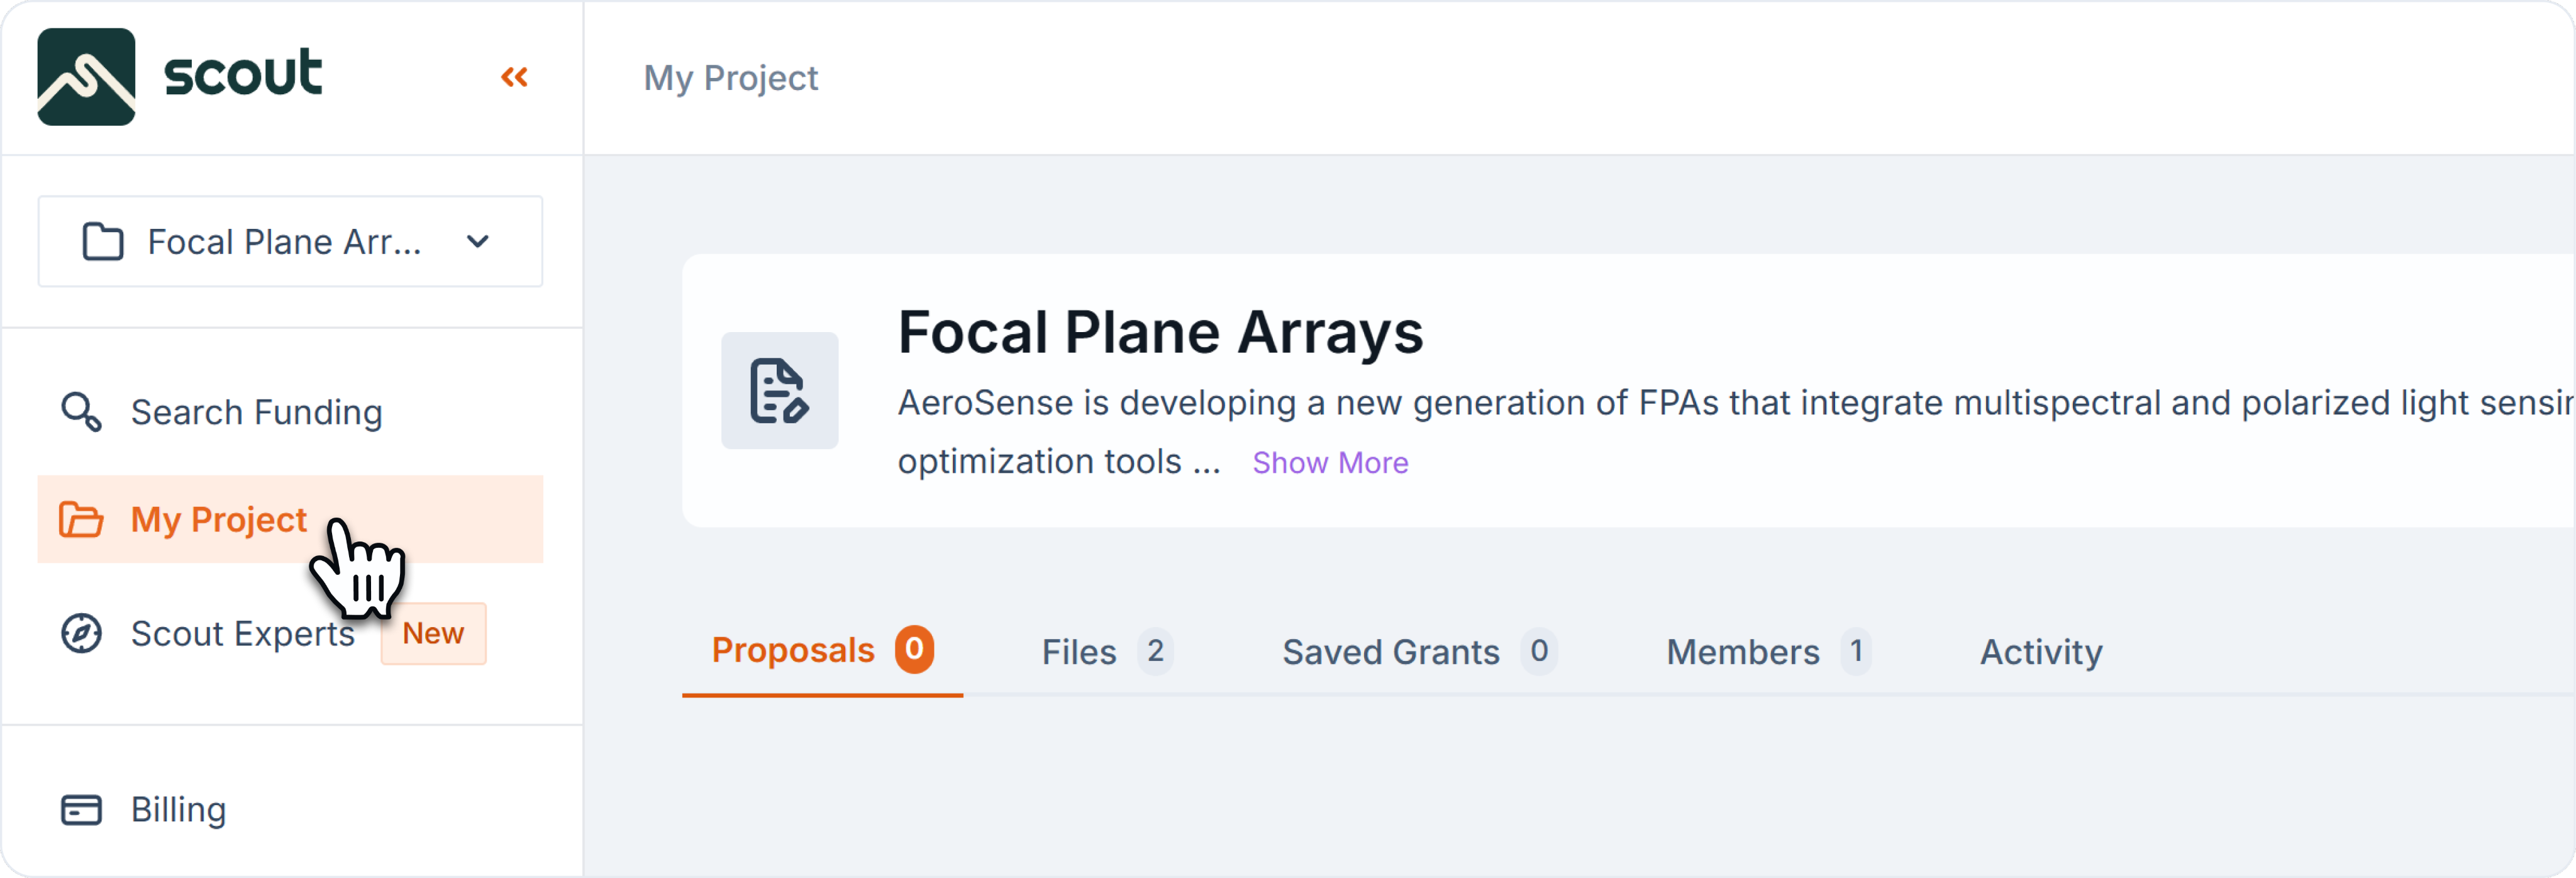
Step 1: Go to My Project in the left sidebar.
- Go to My Project in the left sidebar.
- Select your project.
- Open the Settings or General Info tab.
- Edit fields such as:
- Project Name
- Project Description
- Project Website
- Uploaded Files
Step 2: Click on the 3 dots icon on the right-side, for “More Options”
- With the list of More Options open, click on Edit.
- A right-side drawer will appear with the following options to edit:
- General Details: edit Project Name and Description.
- Project Files: upload or remove project files. These files are relevant for writing proposals and generating drafts.
- Invite Users: invite new project members, remove existing ones or change their roles.

Step 3: Click on “Update” to Save Changes
- All your changes will be lost if you don’t update your project.
- Note: invites to new members will only be sent once you update your project.

Project Description
- Keep language simple and broad for better matches.
- You can always edit your project later.
- Avoid overly technical jargon—Scout matches your project against grants using broad keywords.
Example: “We are a San Francisco-based startup developing a solar-powered water purification system to serve rural communities.”

Team Permission
- Viewer can only evaluate grant matches and access existing proposals in View Mode.
- Writer can create and edit proposals and also add comments to proposals.
- Owner has all writer permissions, plus can manage projects, create and delete proposals, invite and remove project members.
Back to Getting Started